As I lay down the first few keystrokes of this article, I can already hear what is sure to be the knee-jerk apprehension from readers who already hold what they consider to be the be-all-end-all recipe for biscuits. They are a corner stone of the dinner table (whether crafted from scratch or popped from a Pillsbury can), and we probably have a strong-rooted visual of the ideal biscuit.
Rooted in a simple mixture of ingredients, biscuits tend to be a generational dish, with some of us using recipes passed down from high up on the family tree. When we find a recipe that not only tastes good, but is also so strongly associated with these familial memories, it’s no wonder that people consider a family recipe to be the only one worth having. Having been raised in the South by a full-blooded South African and a northerner from Michigan, it may not surprise you to hear that my love and knowledge of low-country cooking did not come directly from my family (don’t get me wrong, my parents love it too, it just doesn’t run in our blood).
It’s then fallen on me to put my ear to the ground around great low-country chefs to piece together the aspects of what I consider the keys to biscuit making. You see, everybody can make a biscuit, but not everyone can make a dreamy, golden brown, buttery, flaky gift to humanity. Don’t fret; keep reading, we’ll get you there.
Biscuit Building Blocks:
Biscuits Love Good, Cold Butter
There is no question that butter is one of the most vital elements of the biscuit process. Some people might question whether or not using a more expensive butter can really make a difference; my response is a resounding, “Yes it does.” What isn’t so great about those sticks of store-brand butter is that they are cut with a good deal of water as a cost-cutting measure, and lack the butter fat content that defines that creamy, buttery taste. Using an Irish-, Amish-, or European-style butter (think Plugra, Kerrygold, etc), may cost a dollar or two more, but will have your taste testers drooling in biscuit ecstasy.
Having paid for a premium product, make sure that it stays as cold as humanly possible before it gets mixed with your dry ingredients so that it doesn’t begin to melt. Your end-goal is to still have visible chunks of butter in your dough before it’s baked, so that by the time they are melted by the heat of the oven, they leave behind pockets of steam that will expand and give rise to the biscuits. It is this same idea that creates layers in croissants and flakes in pie crust.
Ice Water (is for Hot Summer Days)
Recipes that stretch back a few generations might call for ice water to be used as the cooking liquid, not because it is advantageous to use, but because it is cheap and always on hand. Recipes written during wartimes tended to feature sparse lists of basic ingredients that were readily available in most every household. And there’s nothing wrong with such holdovers! If one were to even nitpick a little bit it could be argued that since the water will largely evaporate in the heat of the oven, you’ll be left with a biscuit that is less cake-y and more flaky.
Well, sure, right out of the oven. My concern is that a product that lacks moisture stands little chance of remaining tender for long; and did I mention that water has no flavor? My solution is to look elsewhere for ways to increase flakiness and turn to the ever-faithful dairy cow for my baking liquid (I use a half buttermilk/half heavy cream mixture). Both will lend golden brown color to the final product, and the buttermilk’s tang will add a bit of good flavor, while the cream’s fat content will increase our biscuit’s tenderness.
Cut, Stack, Roll, Repeat
Okay, this next part is the most important thing I have to tell you, so listen up. Biscuit dough that is too heavy is going to have some trouble rising in the oven, so we need to lighten it a little bit. Nothing extreme, but after your dough comes together, instead of skipping straight to rolling and cutting it, I propose a short detour. If you cut the dough in half, stack the two halves, then roll them back, you’ve now got two layers instead of just one.

Repeat this process about six more times and you’ve increased the number of layers your dough contains exponentially. What this means is that these layers can rise higher individually than if we had left the dough in one solid mass. Basically, we’ve now achieved what I call the “Pillsbury Biscuit Effect”, where our baked product can be pulled apart golden flaky layer by golden flaky layer. Yum. Worth it, right?

Key Finishing Touches
A few smaller elements make up the remaining differences between how I do my biscuits and how grandma may have made them. One that people will want to freak out most about is that I don’t re-roll my scraps. Ever. I know, you think I’m an insane maniac. But when you’ve worked so hard to develop even layers that will rise straight up, you throw all of that out the window by mashing those layers back together (resulting in biscuits that rise with a serious lean).

To make sure I have as few scraps as possible, I forget about using a traditional round cutter and instead use a bench scraper to score out an even grid that only has a bit of trim taken off the edges. And do I throw out that trim? Oh, heck no, I roll it into ropes and make an edible border around my biscuits with it. As they rise in the oven, this border helps guide the biscuits upwards (instead of finding that hard lean again).
Having done all of this, it’s key that your biscuits have a hot enough environment to produce steam to propel them upwards, so none of this 350 degrees stuff. It’s 500 degrees or bust, baby. Now, I know some of this may seem wild and wacky, but try adding some of these techniques to your favorite biscuit recipe and see the difference they make for yourself. If you don’t have a generations-old recipe, it’s okay; you can have mine.
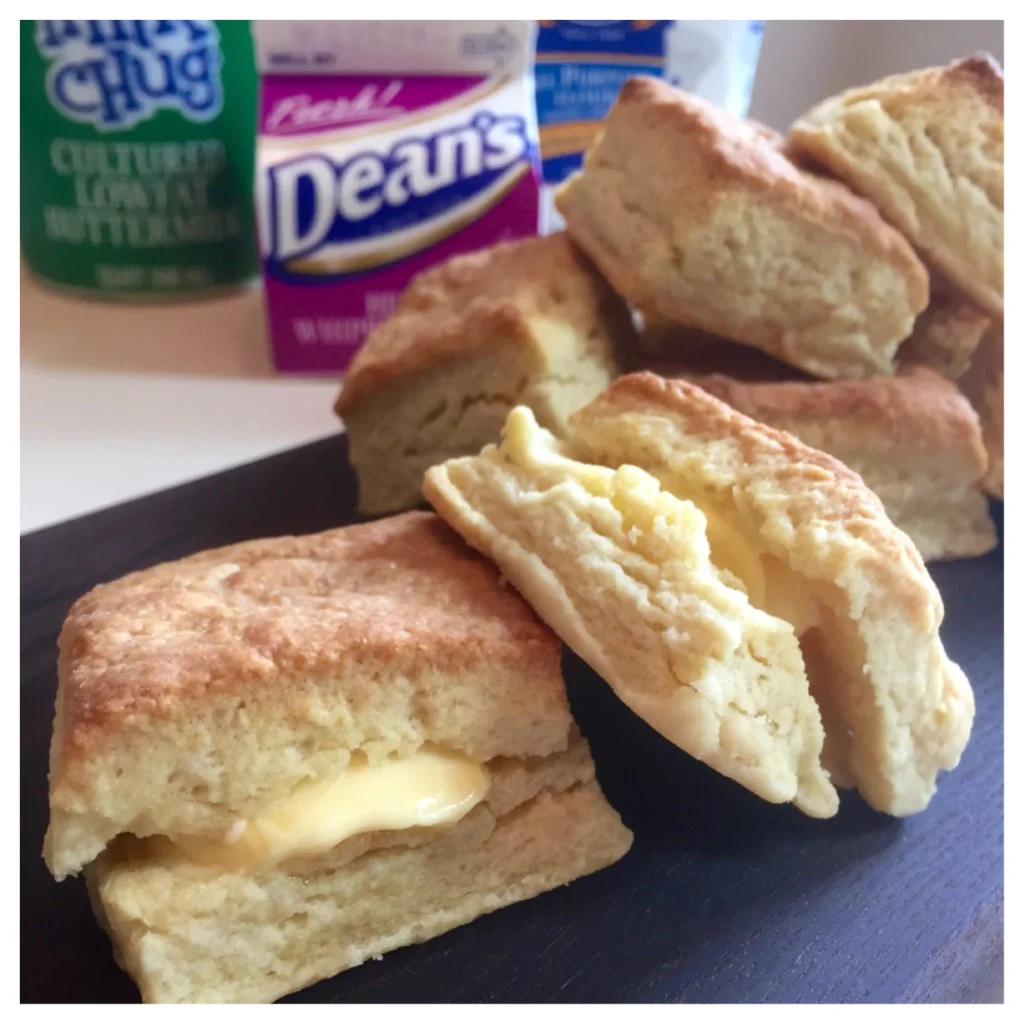
LOW-COUNTRY BUTTERMILK BISCUITS
Makes 9 Biscuits

2 cups all-purpose flour, plus more for rolling
1/2 teaspoon baking soda
1 1/2 teaspoons baking powder
1 teaspoon kosher salt
12 tablespoons good quality butter, cut in ½ inch cubes, cold, plus more for serving
1/3 cup heavy cream
1/3 cup buttermilk
1. Preheat the oven to 500 degrees.
2. In a medium bowl, whisk together the flour, baking soda, baking powder, and salt.
3. Add the cubed butter to the bowl. Using your hands, rub the butter into the flour until it is the size of small peas.
4. Make a well in the center of the flour, and add the cream and buttermilk. Using a wooden spoon, mix the dough until it just comes together.
5. Turn out the dough onto a floured work surface and press into a rectangle. Cut the dough in half, stack the two halves, and roll it back into a rectangle. Repeat this process six more times.
6. Once the dough has been cut and stacked the final time, roll it out into a 1/2 inch-thick square. Using a bench scraper, mark off a grid into the dough to make it easier to cut evenly.
7. Transfer the cut biscuits to a parchment-lined baking sheet, placing them very close together. Roll any dough scraps into ropes and place around the biscuits.
8. Chill the dough in the freezer for about 5 minutes, then transfer immediately to the oven. Bake until golden brown and the biscuits spring back when lightly pressed, about 10 minutes. Remove from the oven and serve immediately with butter.

Brand new to Chicago, Milo Klos received both his BA in creative writing and his culinary certification from the University of South Carolina. He taught cooking classes for a couple of years in a classroom kitchen in SC, but recently decided to move to Chicagoland to study baking and pastry at Le Cordon Bleu. Currently working as a private chef here in the city, Milo enjoys unwinding from a long day with a slice of pizza and anything even remotely Batman related.
Do you have a favorite family recipe for biscuits? Any idea how to top your biscuits on this most sacred holiday? Send them our way! Don't forget to tag @Foodseum and use the hashtag #FeedYourCuriosity for a chance to see your work on our site.